Adjusting your camera settings in certain situations may take some time to think through. Here is a guide for you on how to approach this issue and we are providing you possible camera settings combinations as well.
When I started dealing with photography I spent long hours reading articles on how professional photographers set their cameras when shooting this and that. By now, I have broadly got the information and a method to approach setting my camera appropriately in various kinds of situations. So firstly, let me tell you guys, what viewpoints I usually consider prior to starting to take photos.
Image properties – a little introduction
Each type of image has its typical properties. For example, usually, landscape photos require everything to be in focus and sharp from the foreground to the background. On contrary, shooting portraits, in most cases, the background should be blurred. Moreover, taking photos of sports events, we would like to freeze the motion and so on. Of course, there are exceptions that differ a bit from the average, so when I have a vision, I can go along it in my head and realize the properties of that. The first thing that can be thought of is what I am going to shoot and what properties those kinds of images have.
After I get all the things, I examine what is needed to be adjusted to achieve the expected effect. I pose myself questions like…
- How can I freeze the motion? What adjustment is needed for that?
- Which adjustment is needed to make the background blurry?
- What metering mode should I use if I want a certain spot to be perfectly exposed?
- Which adjustments are needed to to get the moving subject in focus in each shot?
I could continue, however, the core is, posing questions helps me get on with adjusting my camera settings more easily in every situation.
Camera settings in details
I would like to give you a little technical help. I collected my approximate settings for some types of photos. When I started photography, it would have been a huge leg up for me.
I’m sure that many of you can adjust your camera settings perfectly anytime and anywhere, but I hope It will be useful for most of you.
Some of Canon and Nikon notations for better understanding

Camera settings for natural light portraits
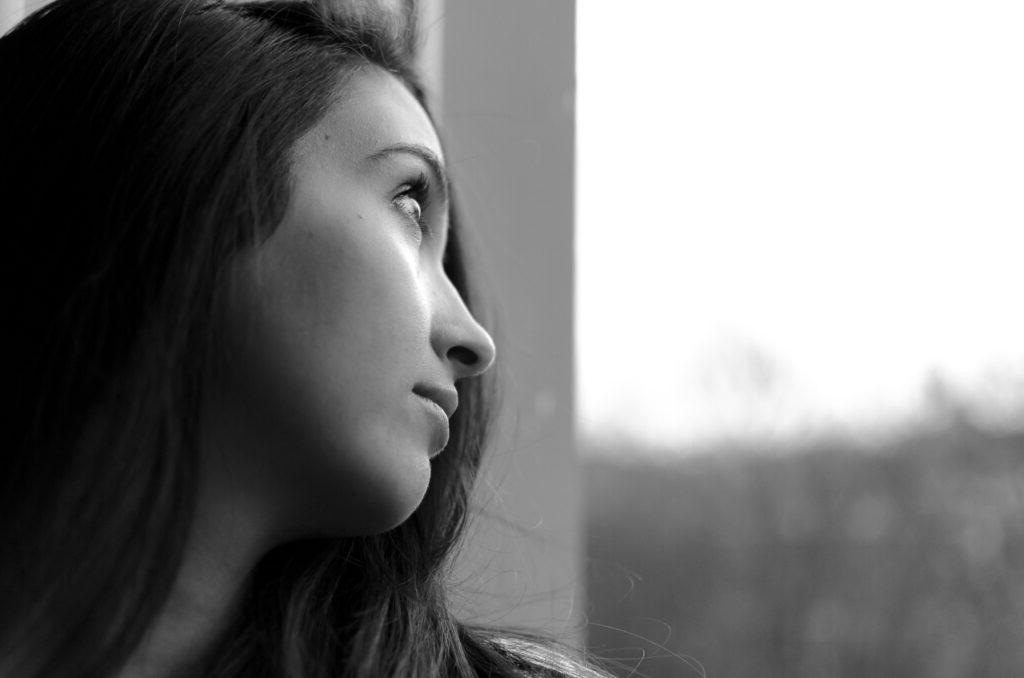
Most used camera modes
Manual (M) and aperture priority (A).
Shutter speed
Usually, in the case of natural light portraits, I set the shutter speed to faster than 1/30 secs. The subject is moving, I am moving (except when I am using a tripod), so the shutter speed must be fast enough not to make the image blurry. Using a telephoto lens, I commonly set this much faster to compensate for the focal length.
Aperture
It can be really different. Usually, the magic number is f8. With this, I can get the whole face or body in focus in-depth. However, there are cases, I need more depth of field, for example, for environmental portraits. In this case, the aperture can be set between f8 and f16. Furthermore, when I want a shallower depth of field, I can set the aperture even to f1.2.
Really important! Shooting portraits, almost every time, the focus must be set on the eyes. So when I work with a really shallow depth of field, I pay more attention to it.
ISO
Generally, I try to keep the ISO as low as possible. Yet, If I can’t shoot with a shutter speed fast enough, I set it higher.
Shooting mode
If I want to make sure to catch the perfect moment, I generally use continuous shooting mode not to miss anything. It gives me the possibility to select the best images later.
Focus mode
Due to my composition technique, in most cases, I use a single area focus mode.
Focus points
As for focus points, I work with only one when shooting portraits. Commonly, I’d like to focus on a certain point, for example, the eyes, or a finger, and the most appropriate focus point setting is the single point focus for me.
Metering mode
In average circumstances, the matrix or center-weighted metering mode is perfect. However, in some situations, for instance, shooting facing the sun, these metering modes can josh me. These times, I usually try to spot metering to get the perfect exposure.
Camera settings for still life images
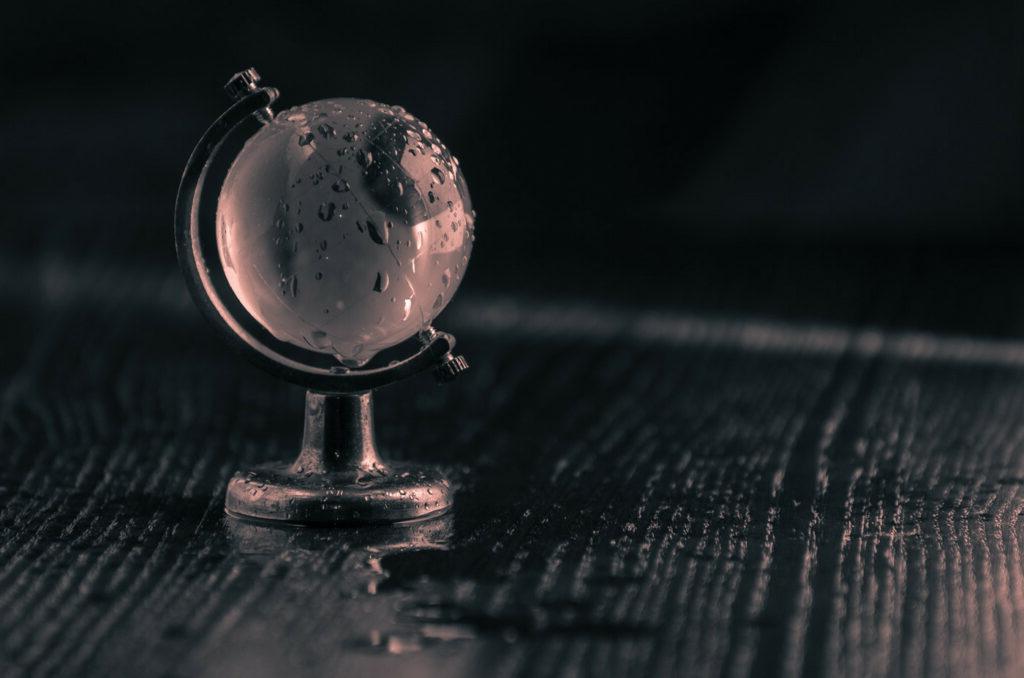
Most used camera modes
Manual (M).
Shutter speed
Shooting still life, in general, I put my camera on a tripod so the shutter speed is not an issue. I can set it to any speed depending on the other settings. However, without a tripod, it’s the same as in any other situation shooting handheld, so faster than 1/40.
Aperture
As for aperture, there is no magic number here. It absolutely depends on my needs.
ISO
Using a tripod, I try to keep the ISO as low as possible. Otherwise, If I can’t use low ISO (lack of tripod), sometimes I try to create a photo that looks good or more interesting with noise and grain. Noisy black and white images are the perfect examples of it.
Shooting mode
It’s unnecessary to use continuous shooting mode. Instead, I always use single shooting mode and it’s perfect for me every time.
Focus mode
Since it’s still life photography, the subject won’t move anywhere ideally. So after arranging the scene, I set my single autofocus exactly to the point where I want it to be and then fix it somehow. In most cases, I switch the focus mode to manual, and then my focus will be “locked”. After it, watch out not to touch the focus ring. Of course, I can set the focus manually as well so it’s up to me.
Focus points
For this type of images, I always use only one focus point or manual focus.
Metering mode
Generally, I work with full manual mode and don’t rely on the light metering of my camera. A set something and I check if works and then readjust my settings. The histogram is my friend in this phase and I try to expose it to the right (ETTR).
Camera settings for moving subjects
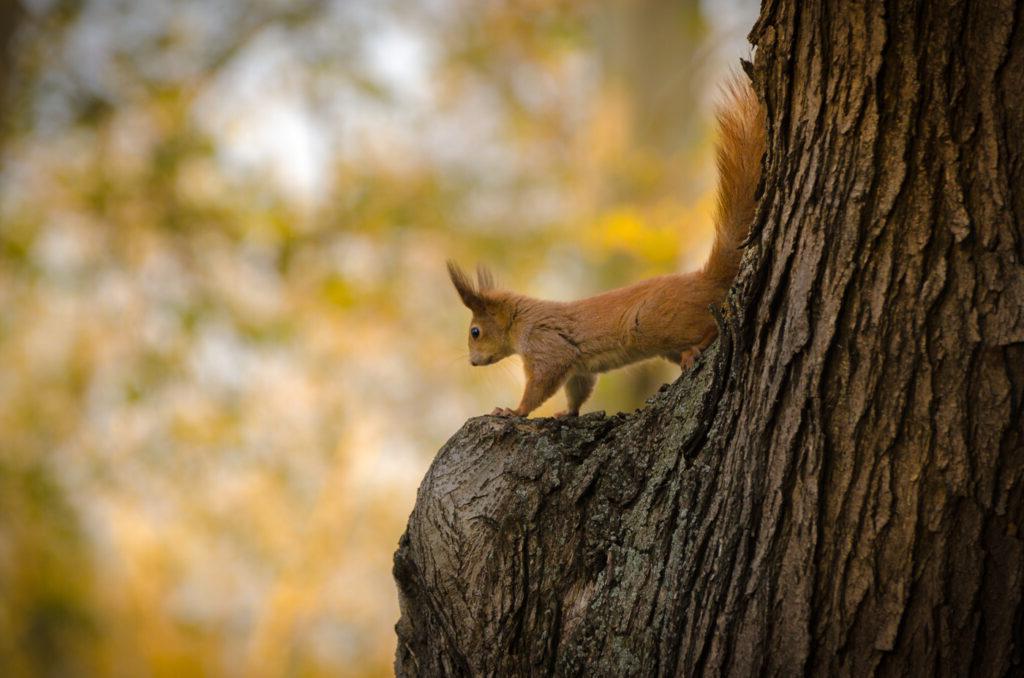
Most used camera modes
Manual (M), aperture-priority (A), shutter-priority (S)
Camera mode in these situations really depends on the circumstances and how I would like to emphasize the subject. For almost constant light conditions, I use manual mode. For a shallower depth of field, the aperture priority is a good choice. If the most important thing is to freeze the motion and the depth of field is not so important, then shutter priority.
Honestly, there are many situations when the circumstances require some camera settings, however, these are the most typical and basic reasons for each mode.
Shutter speed
The most typical viewpoint is freezing the motion. So shutter speed must be fast enough to freeze the expected actions. Shooting a running man, I won’t need as fast shutter speed as I was taking shots of flying birds or freeze the motion of splashing water. In the first case, It’s enough to use at least about 1/400 secs, however, in the other case, you can happen to need a 1/2000 secs shutter speed.
There is a really useful article about shutter speed settings in case of moving subjects and it’s worth reading.
Aperture
Talking about freezing motion somehow, we can achieve faster shutter speed by opening the aperture. Ergo, In most cases, you may want to set your aperture as wide as you can.
ISO
As usual, I try to keep ISO as low as possible, however in many times, for the perfect result, I don’t care about the noise that it introduces and set it to as high as I need.
There is a really helpful camera setting, the auto ISO. I can set the upper limit of the ISO and my camera will set it automatically relying on its light metering. I can also set the minimum shutter speed and my camera will not go under it when using Aperture mode for example.
Shooting mode
For the best result, I use continuous shooting mode.
Focus mode
In almost all the cases I use continuous focus mode (servo) so it follows the movement of the subjects.
Focus points
As for focus points, there are more options. If I can set your focus to on the subject with only one focus point then I use 3D matrix (on Nikon cameras) focusing. With this, the one focus point will follow your subject. Another option is selecting more focus points so my camera will focus on my subject (hopefully) in that certain area covered by the focus points.
Metering mode
The metering mode does not differ in this situation from the other ones. The only use case I would like to mention is wildlife or bird photography. In certain cases, the background is so bright that I cannot get my subject perfectly exposed when I am not in full manual mode. This time, I use spot metering to get the subject well exposed and let the background burn out.
Camera settings for landscapes
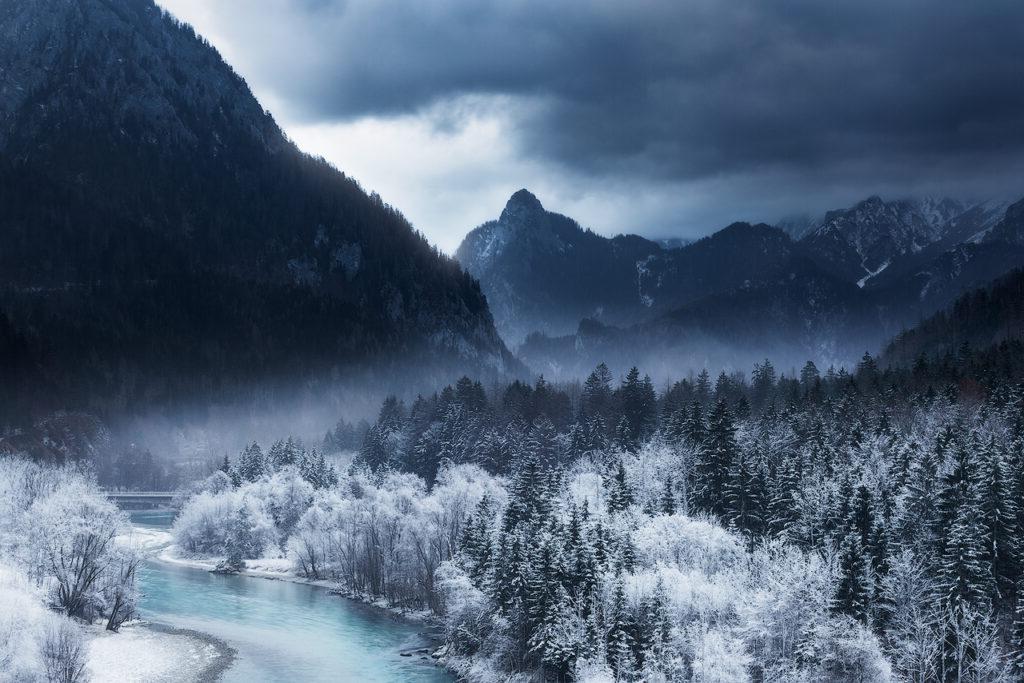 Gesause, Austria – by Gabor Boszormenyi
Most used camera modes
Manual (M)
Shutter speed
If I don’t have any special goal and I use a tripod, the shutter speed does not matter. If I shoot handheld, it must be fast enough to get my image sharp.
Using a tripod, I have many opportunities. I can blur the clouds, the leaves of the trees, or the water with slower shutter speed, for example, 30 secs. It’s just an example number, I suggest you experiment with this adjustment and find the best for your taste and for the situation.
Aperture
Aperture is really important in this genre. In most cases, I want my landscape to be in focus from the foreground to the background and to be tack sharp.
First, to get the sharpest result, I look for the aperture value when my lens provides the sharpest result. Usually, it’s between f8 and f13 or f16. Above f13, a phenomenon called lens diffraction starts to appear that makes your image less sharp. If my foreground is not too close to the camera it’s generally enough.
If the foreground is close to the camera, the first option is to sacrifice a bit of the depth of field or there is a technique to get every part of your image in focus. It’s called focus stacking and you can read more about it here.
However, there are cases when I can emphasize my subject by separating it from the focus. For example, I would like to put the emphasis on a tree shooting a forest scene. In these situations, I widen my aperture as I wish.
ISO
I keep the ISO as low as possible.
Shooting mode
It’s completely appropriate to use single shooting mode.
Focus mode
In general, I use two focusing modes. Single area, and manual focus. Using a tripod, I almost always use manual focus and I set it using my LCD.
Focus points
I always use single focus point when using autofocus.
Metering mode
The metering mode does not matter to me till shooting in manual mode. Using aperture mode, I set it to matrix metering.
Camera settings for street photography
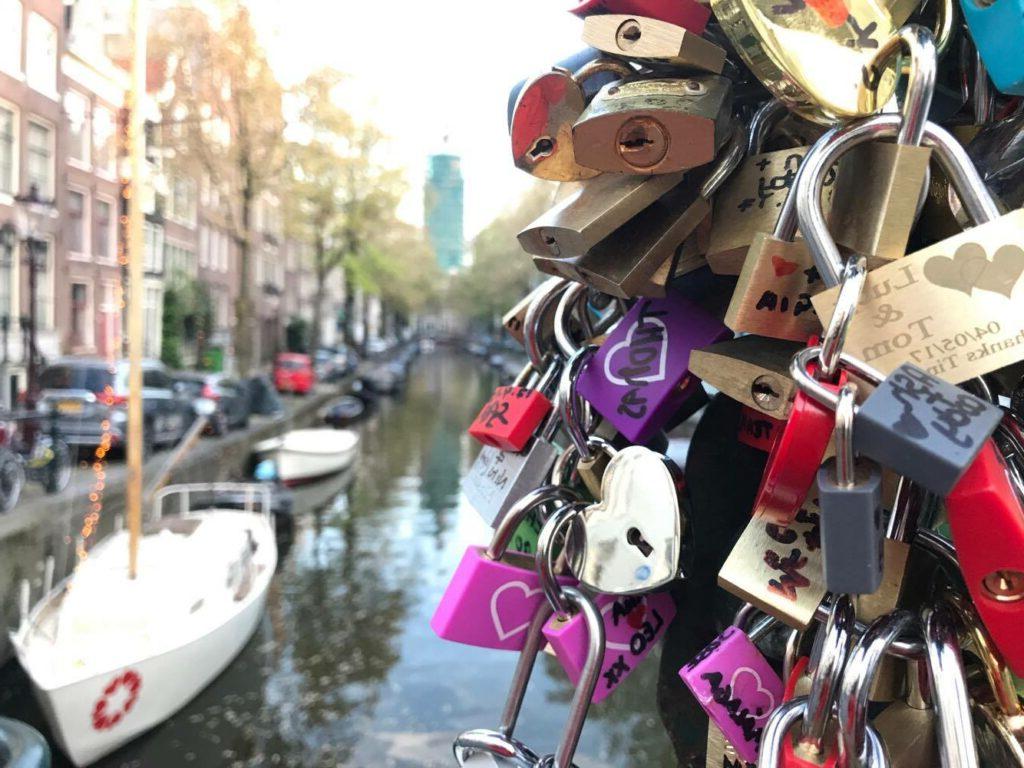 Amsterdam, Netherlands – by Gabor Boszormenyi
Street photography is not the genre that is really close to me so I have less experience in it than, for example, in shooting landscapes. However, I have read a lot about it and sometimes I got out to take these kinds of images.
Most used camera modes
For me, aperture priority (A).
Shutter speed
Actually, I think, street photography is a mixture of genres. Portraits, still life, cityscapes, and so on. In general, the shutter speed should be fast enough not to take blurry images. On the contrary, for special effects, it could be changed so for me, there is no magic number or something like that, it’s up to you or your camera 🙂
Aperture
Just like the shutter speed, the aperture value can be also really variable. Wide for portraits or narrow for cityscapes. I personally think that in general daylight conditions, walking down the streets, the f8 value is perfect for a starting point.
ISO
As for street photography, it does not matter to me how high the ISO is set. Usually, the core here is not the look of the image, but the content and the way the subject is represented. Of course, it’s important how the image looks like, however, in most cases, it’s not a primary consideration.
If I need a higher ISO to get the appropriate shutter speed, I feel free to do it. In addition, there are images that look much better with some grain so I am not afraid of it.
Shooting mode
It depends on the subject, however, most of the time, I use single shooting mode.
Focus mode
There are photographers who use manual focus and got used to that, however, I don’t belong to them 🙂 Not yet… Personally, I usually use a single area focus mode.
Focus points
I think, selecting focus points also depends on the subjects. When there is a point where I know the focus should be, then I use one focus point. Nevertheless, when there are a scene and my aperture is narrower, for instance, f8 – f16, then I happen to use more or all the focus points.
Metering mode
In 90% of the time, I set the metering mode to matrix metering (considering the whole image). I happen to set it to spot metering, however very rarely. Instead, I use my exposure compensation to get brighter or darker images.
Conclusion
These are my typical camera settings based on my experience. I didn’t go into very detailed descriptions, yet, I hope it will help you find the appropriate adjustments.
I have also read a lot about camera settings and I am still learning and gaining more experience in new situations. If you think I missed something or you have any kind of questions or feedback, please write it in a comment below.
Copy this article Camera Settings – Adjustment Guide for Different Situations please put the source on the website svlsf.edu.vn
Categories: Biography
Source: svlsf.edu.vn
